Not so Ugly ReBatched Soap
I had watched many YouTube videos of people
rebatching their soap.
I heard the term Ugly ReBatch Soap but it
is still good Soap.
Some people suggested giving it to the Homeless.
Some people would sell it at a discounted price.
My mind said, I really don't want to throw my soap ends into a bucket and have to make ugly rebatch soap.
My first year of rebatching I tried a couple of different ways to revitalize my soap ends.
It was through not wanting ugly rebatch soap I started creating
Hand Sculpted Soap Figures.
I started to realize that a certain recipe worked really well for sculpting.
I call it Play Dough CP Soap.

First round of rebatching
I rebatched some soap and rolled it out while it while it was
still warm.
The I used large & small cookie cutters.
I put a hole in the tip and place a plastic piece like a straw to reinforce the hole.
My plan was to use a string to create,
Christmas Tree Ordainments

I decided to pipe white on top.
When the Christmas tree comes down their
ordainment goes to the tub. :-)
Kids thought these were Great :-)

Each time I made a new soap I had soap ends,
I would try to make
Balls and Roses in future projects.

I made Guest Bathroom Soaps with the Roses.

If I made a soap that I was not happy with
I would cut it into cubes.
Cube Embeds

In my Second round of rebatching I was grateful for the little effort I put into keeping the different colours separated.
I ended up with a drawer full of all kinds of different items/embeds of soap that I had created. Another drawer with different coloured shreded soaps, rebatch buckets and Ziplock bags of soap.
It may sound like a lot but remember this was all collected over 6 months or so....
I had learned to manage my future rebatch soap by colour.
Which is the number One way to keep from making
Ugly ReBatch Soap!!!

Recycle, Reuse oil Buckets
Stacking the buckets to keep them dust free.

Once in a while I make a Play Dough recipe that is too sticky to I put it into the rebatch ziplock according to colour.

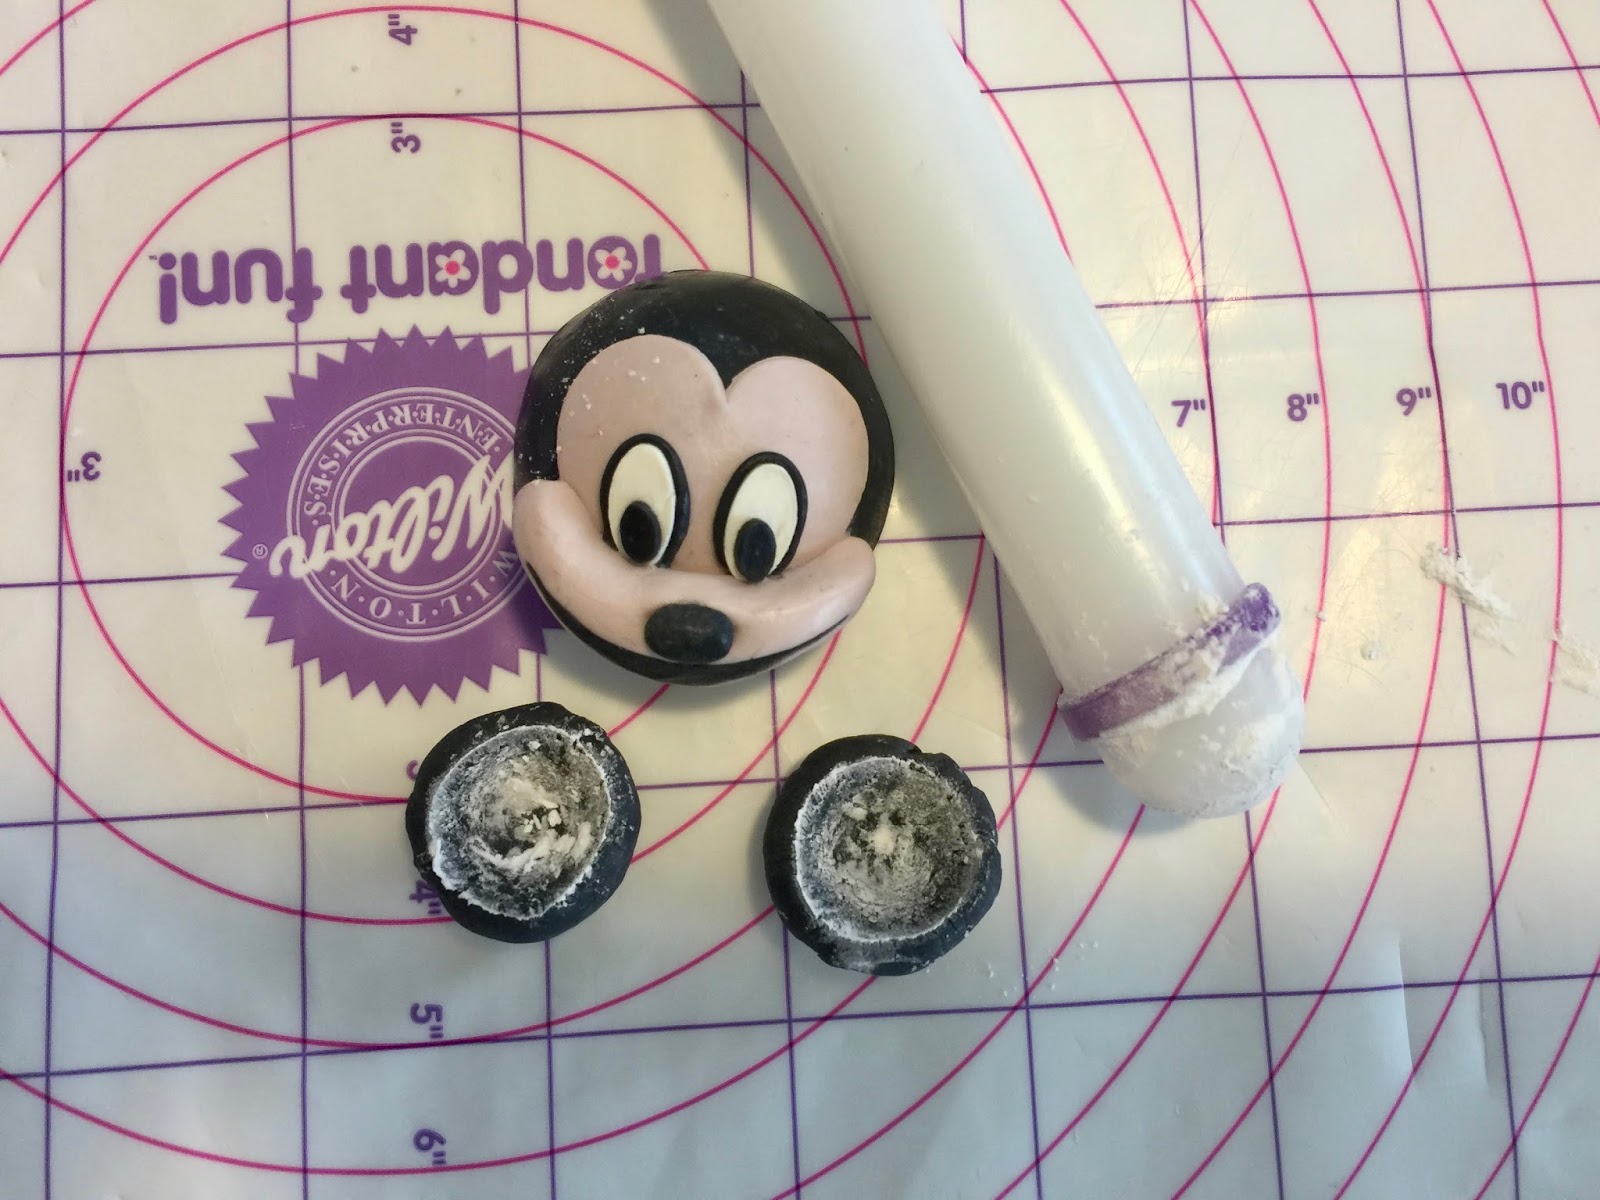
Embeds I had made along the way.
For example I had made these Stars.


When I had most of the Pink Softened with just a few Chunks,
I used the Hand Mixer to break them up more.
It whipped air into the to Pink Soap which made it
Float.
 |
| Hey it Floats |
Dress Up the Top
I had extra pieces leftover from an extruder project.
I Created a Flower
with a Yellow Ball for the centre.
I had some Bees left from a project called Honey Log,
so I placed them on top of a loaf of ReBatch.


The mold with the blue is made of Corrugated Plastic.

Soap Balls & Snow Drops I Pipped
 |
| almost looks like a pencil line between colours |
I put some of my Soap into my Food Processor,
which created little Soap Rocks;
the container of the left.
Added some to the rebatched base.

For top of the Soap I sifted out the fine bits into a rebatch bucket.

Sprayed the top of the base with alcohol and place the bits on top.
Then I sprayed the alcohol again to further secure the pieces.

I use a mitre box for cutting my soap, 1 inch thick.


Not too bad for ReBatch Soap.
I Don't have to shred to ReBatch Soap Yahoo!!!
Another lesson I learned was that once soap is cured it can no longer can be cut it. Cured soap crumbles. I guess that is why people tend the shred the soap.
I had half loaf Zebra pour of soap that I wanted to rebatch,
I put the soap in a thick bag and beat it with a
hammer on the front steps.
The bits were now small enough to put into the crock pot.

The embeds were made from Red, Green & White balls I had made but never got around to using. I put them into the food processor and made little bits/rocks out of them.
I add the coloured bits just before I place the soap, in my homemade corrugated plastic, mold.
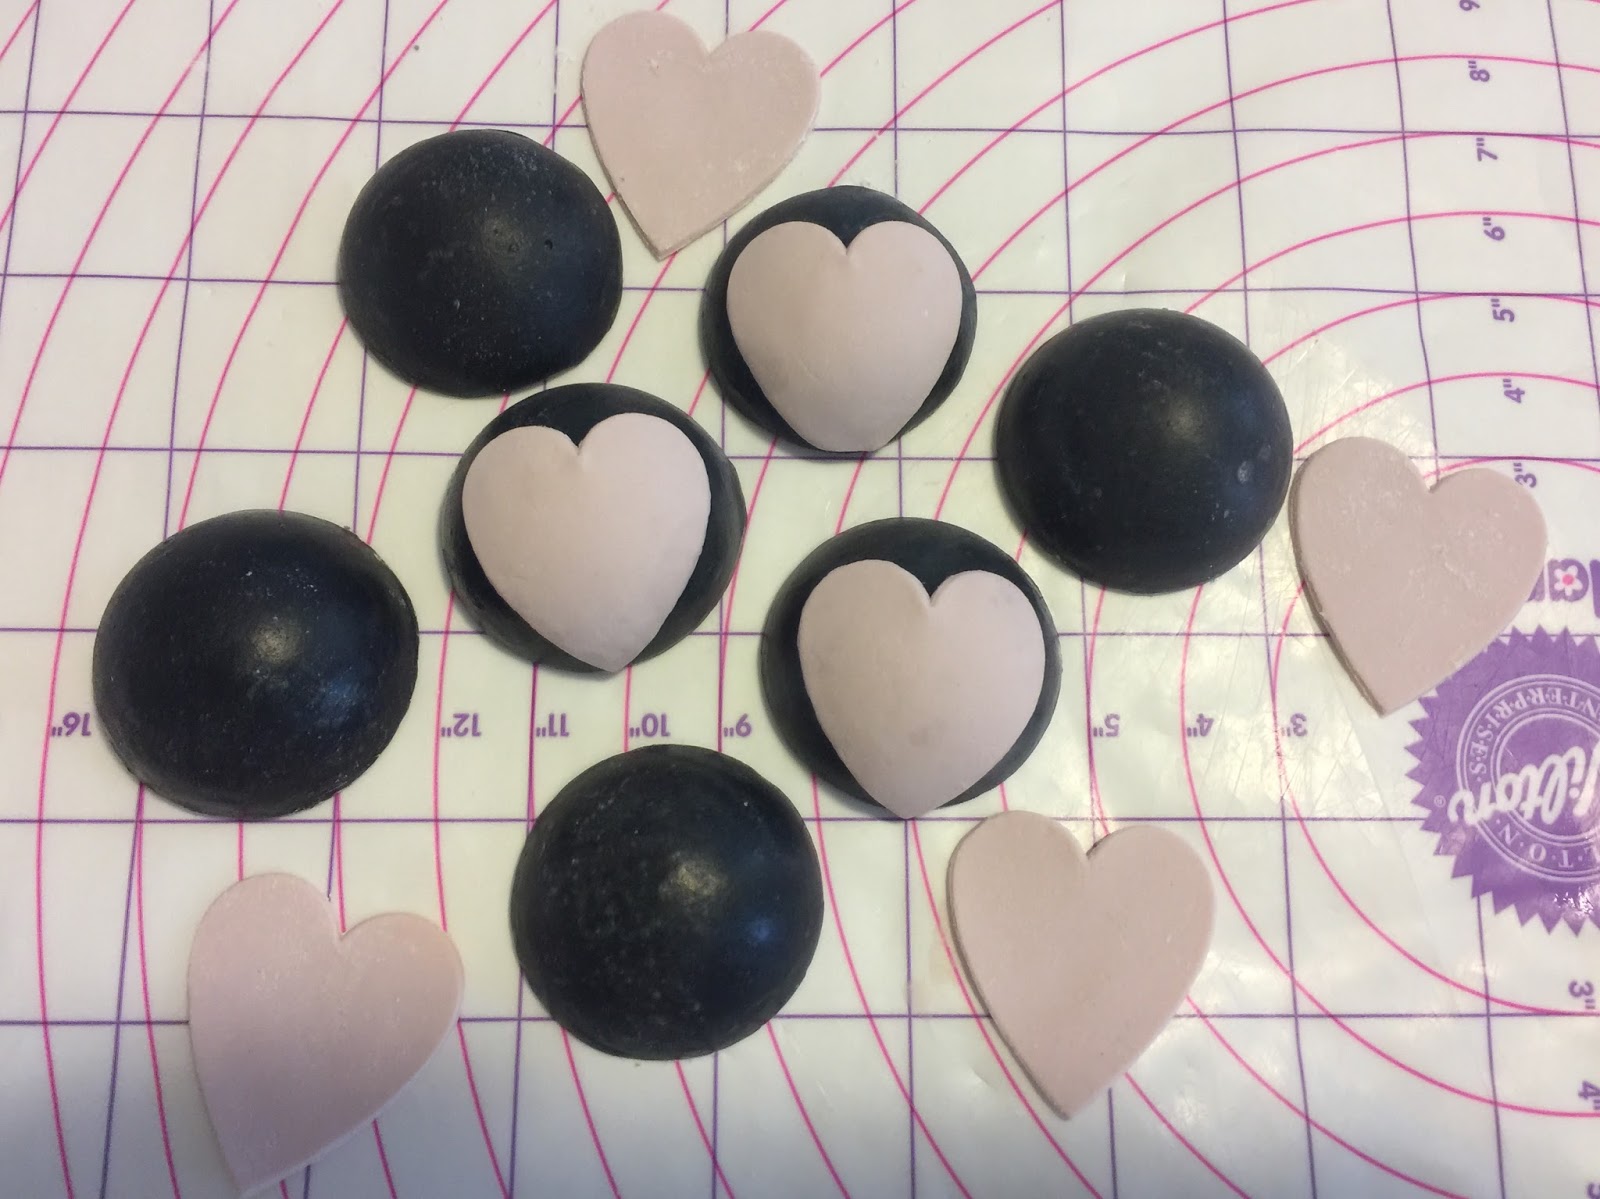
The second one
is the Heart embed I made that I forgot to use.
I did not want to shred it.
I turned my pot on low and decided that I was not in a hurry.
I add water as required.